Sell Tokens
This guide provides step-by-step instructions on how to create a sell order on Sonic.
Step 1: Navigate to Sonic Exchange.
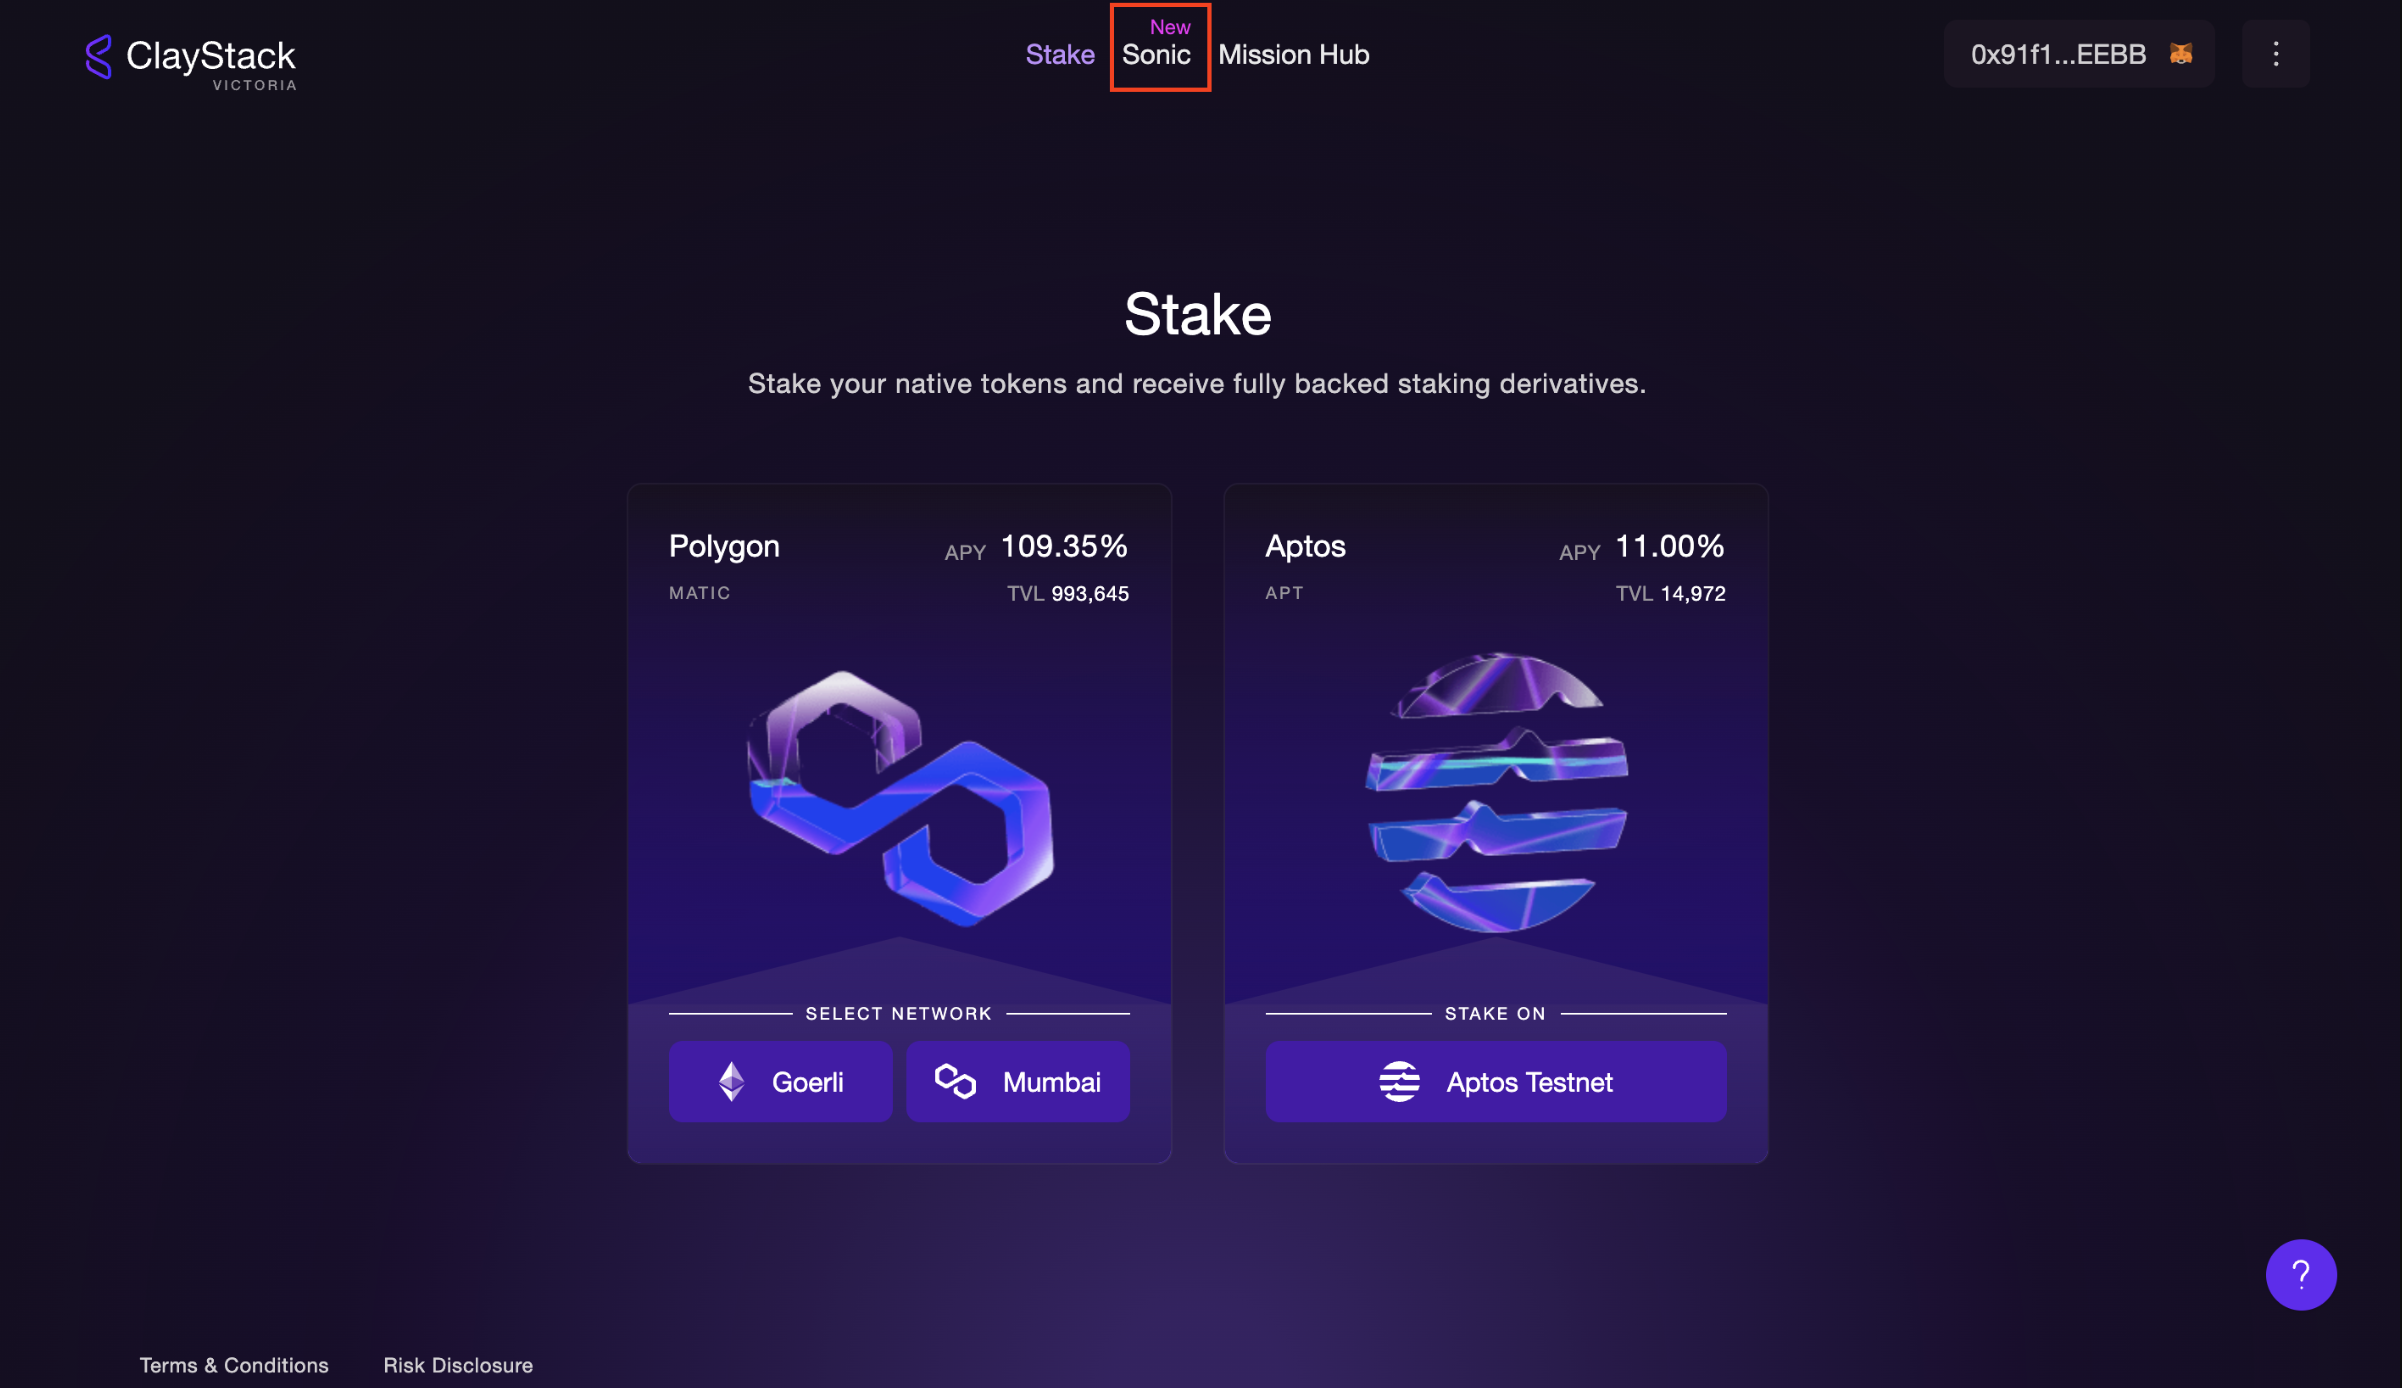
Open your web browser and go to "https://victoria.claystack.com/".
Click on the "Sonic" option located in the header.
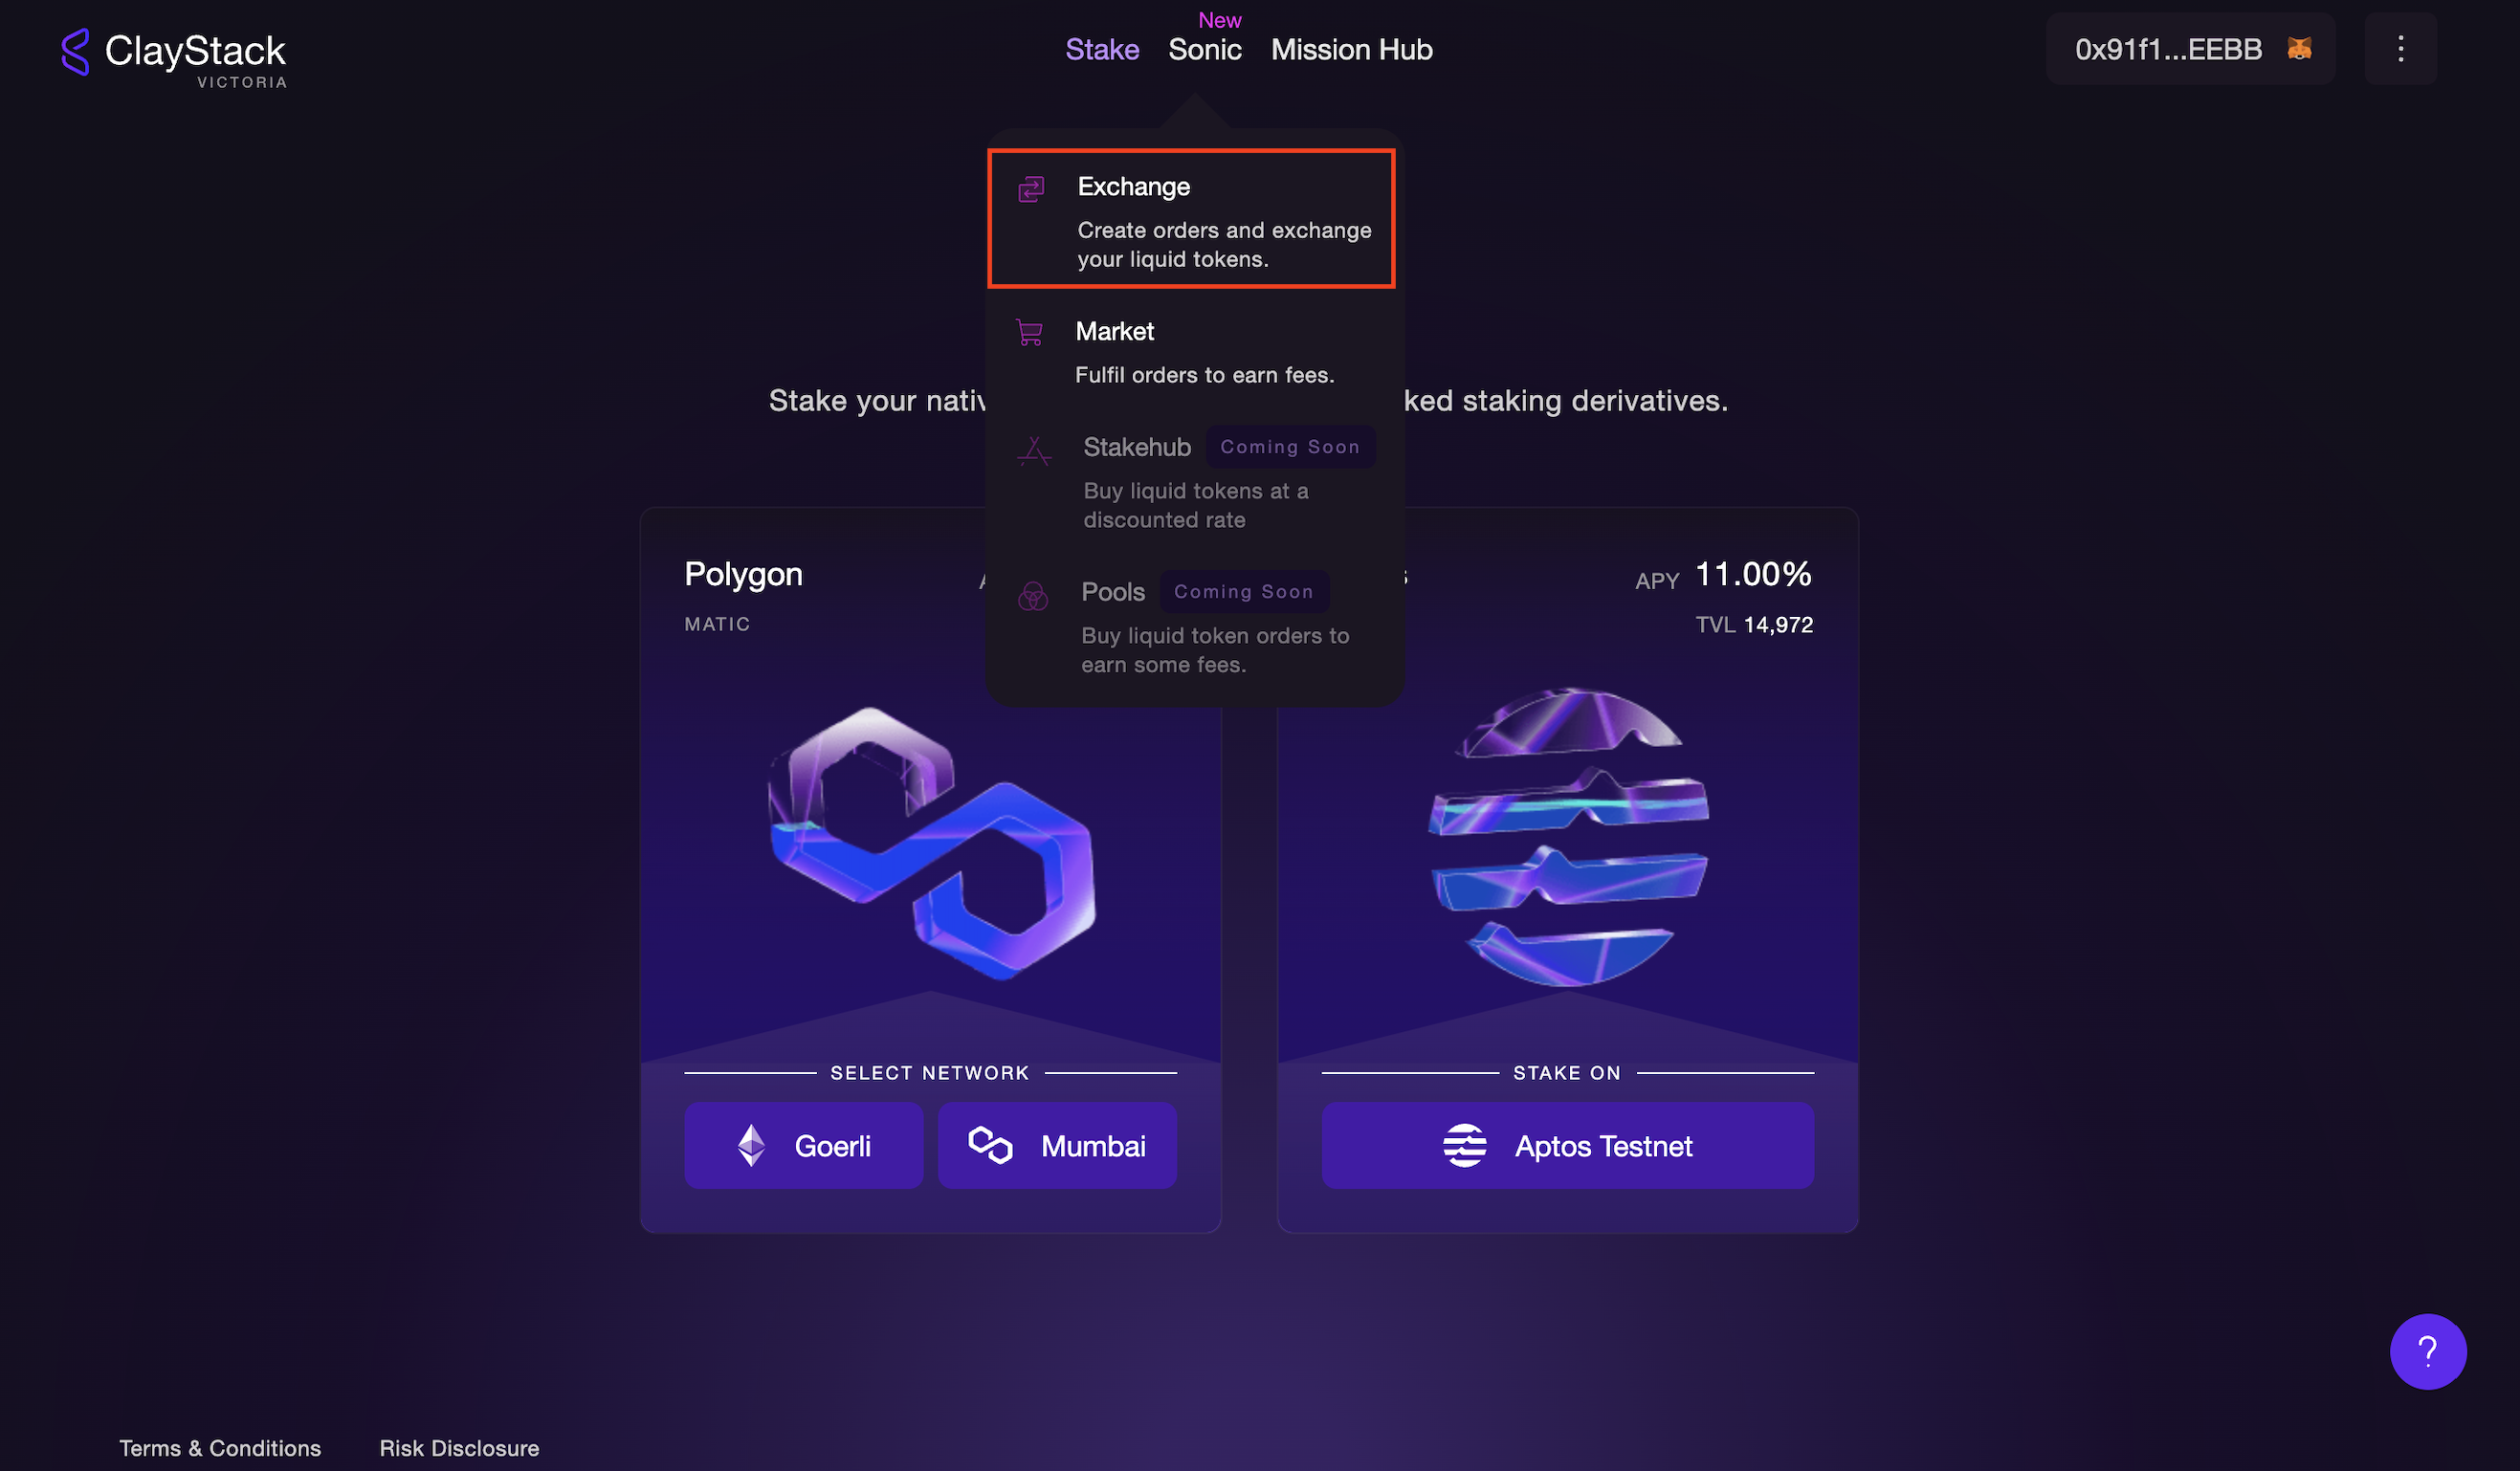
Select "Exchange" from the available options.
Step 2: Get whitelisted.
NOTE: Currently, you must be whitelisted to use Sonic. Please refer to this for instructions on how to enter the whitelist: testnet
Choose the token you wish to sell by using the "Select Token" option.
NOTE: Some tokens may be on a separate blockchain. If your wallet is not connected to the correct blockchain, make sure to switch to your desired chain.
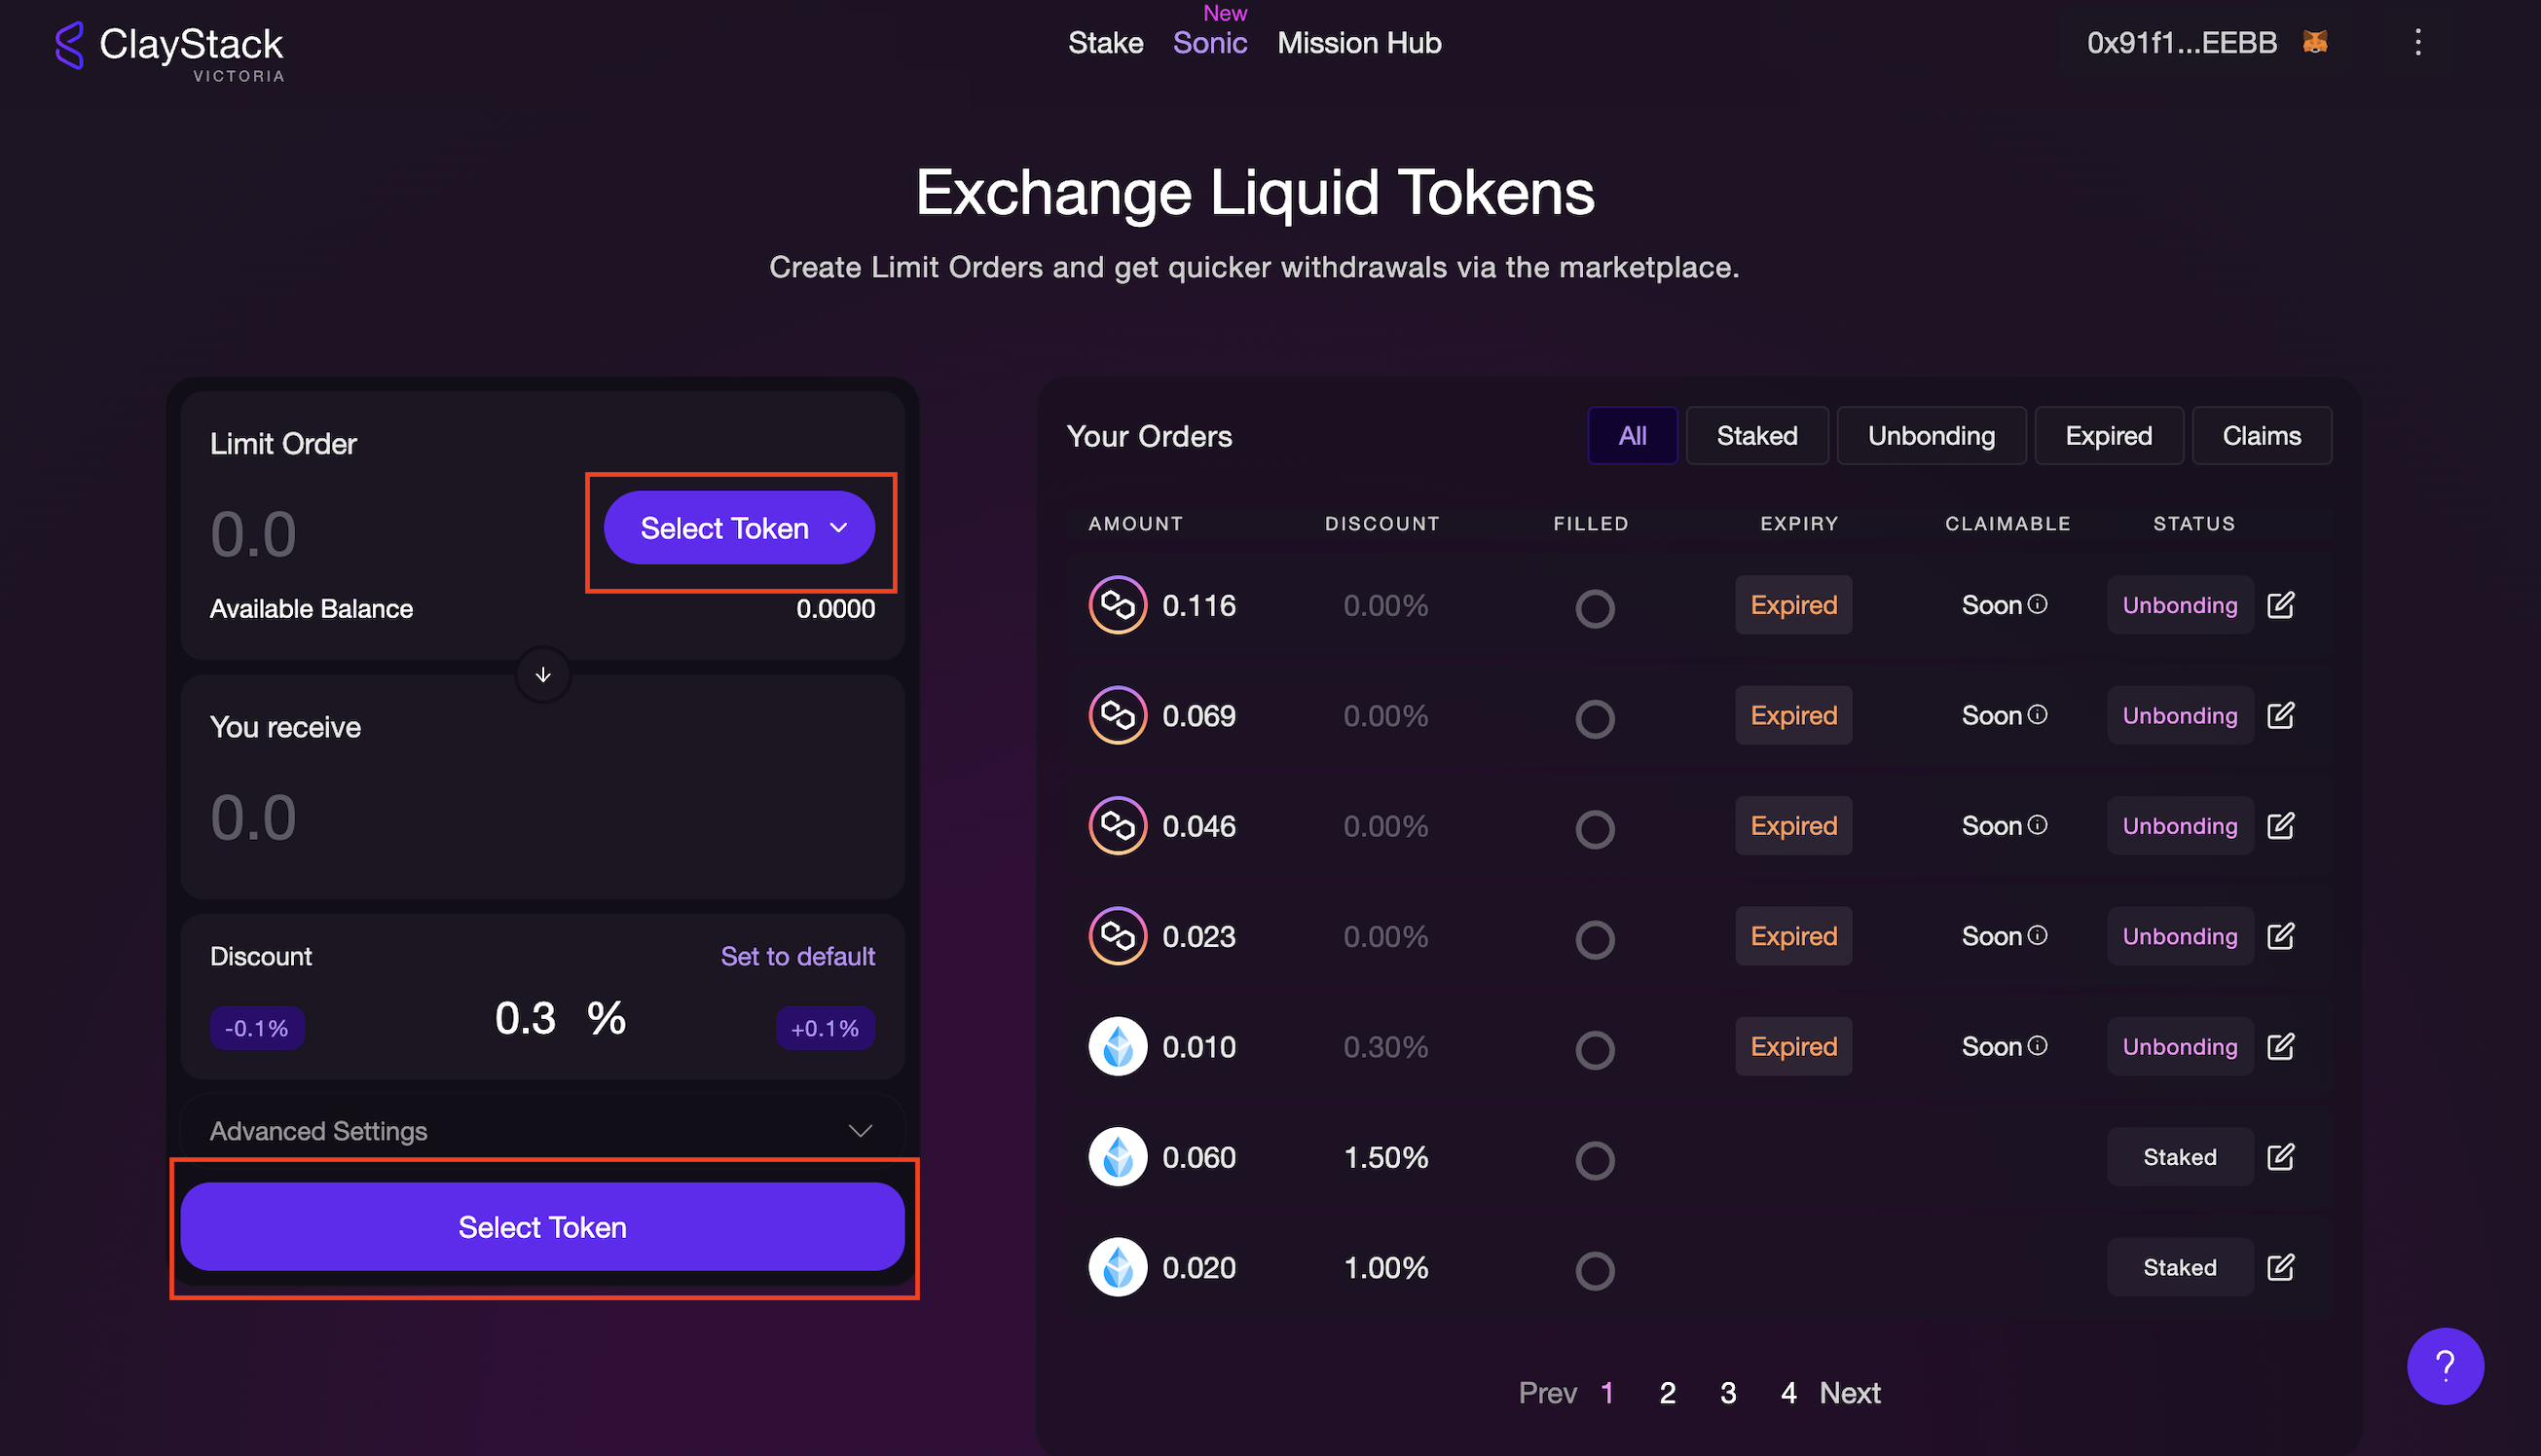
Step 3: Adjust the discount.
Adjust the discount according to your preference for the sell order.
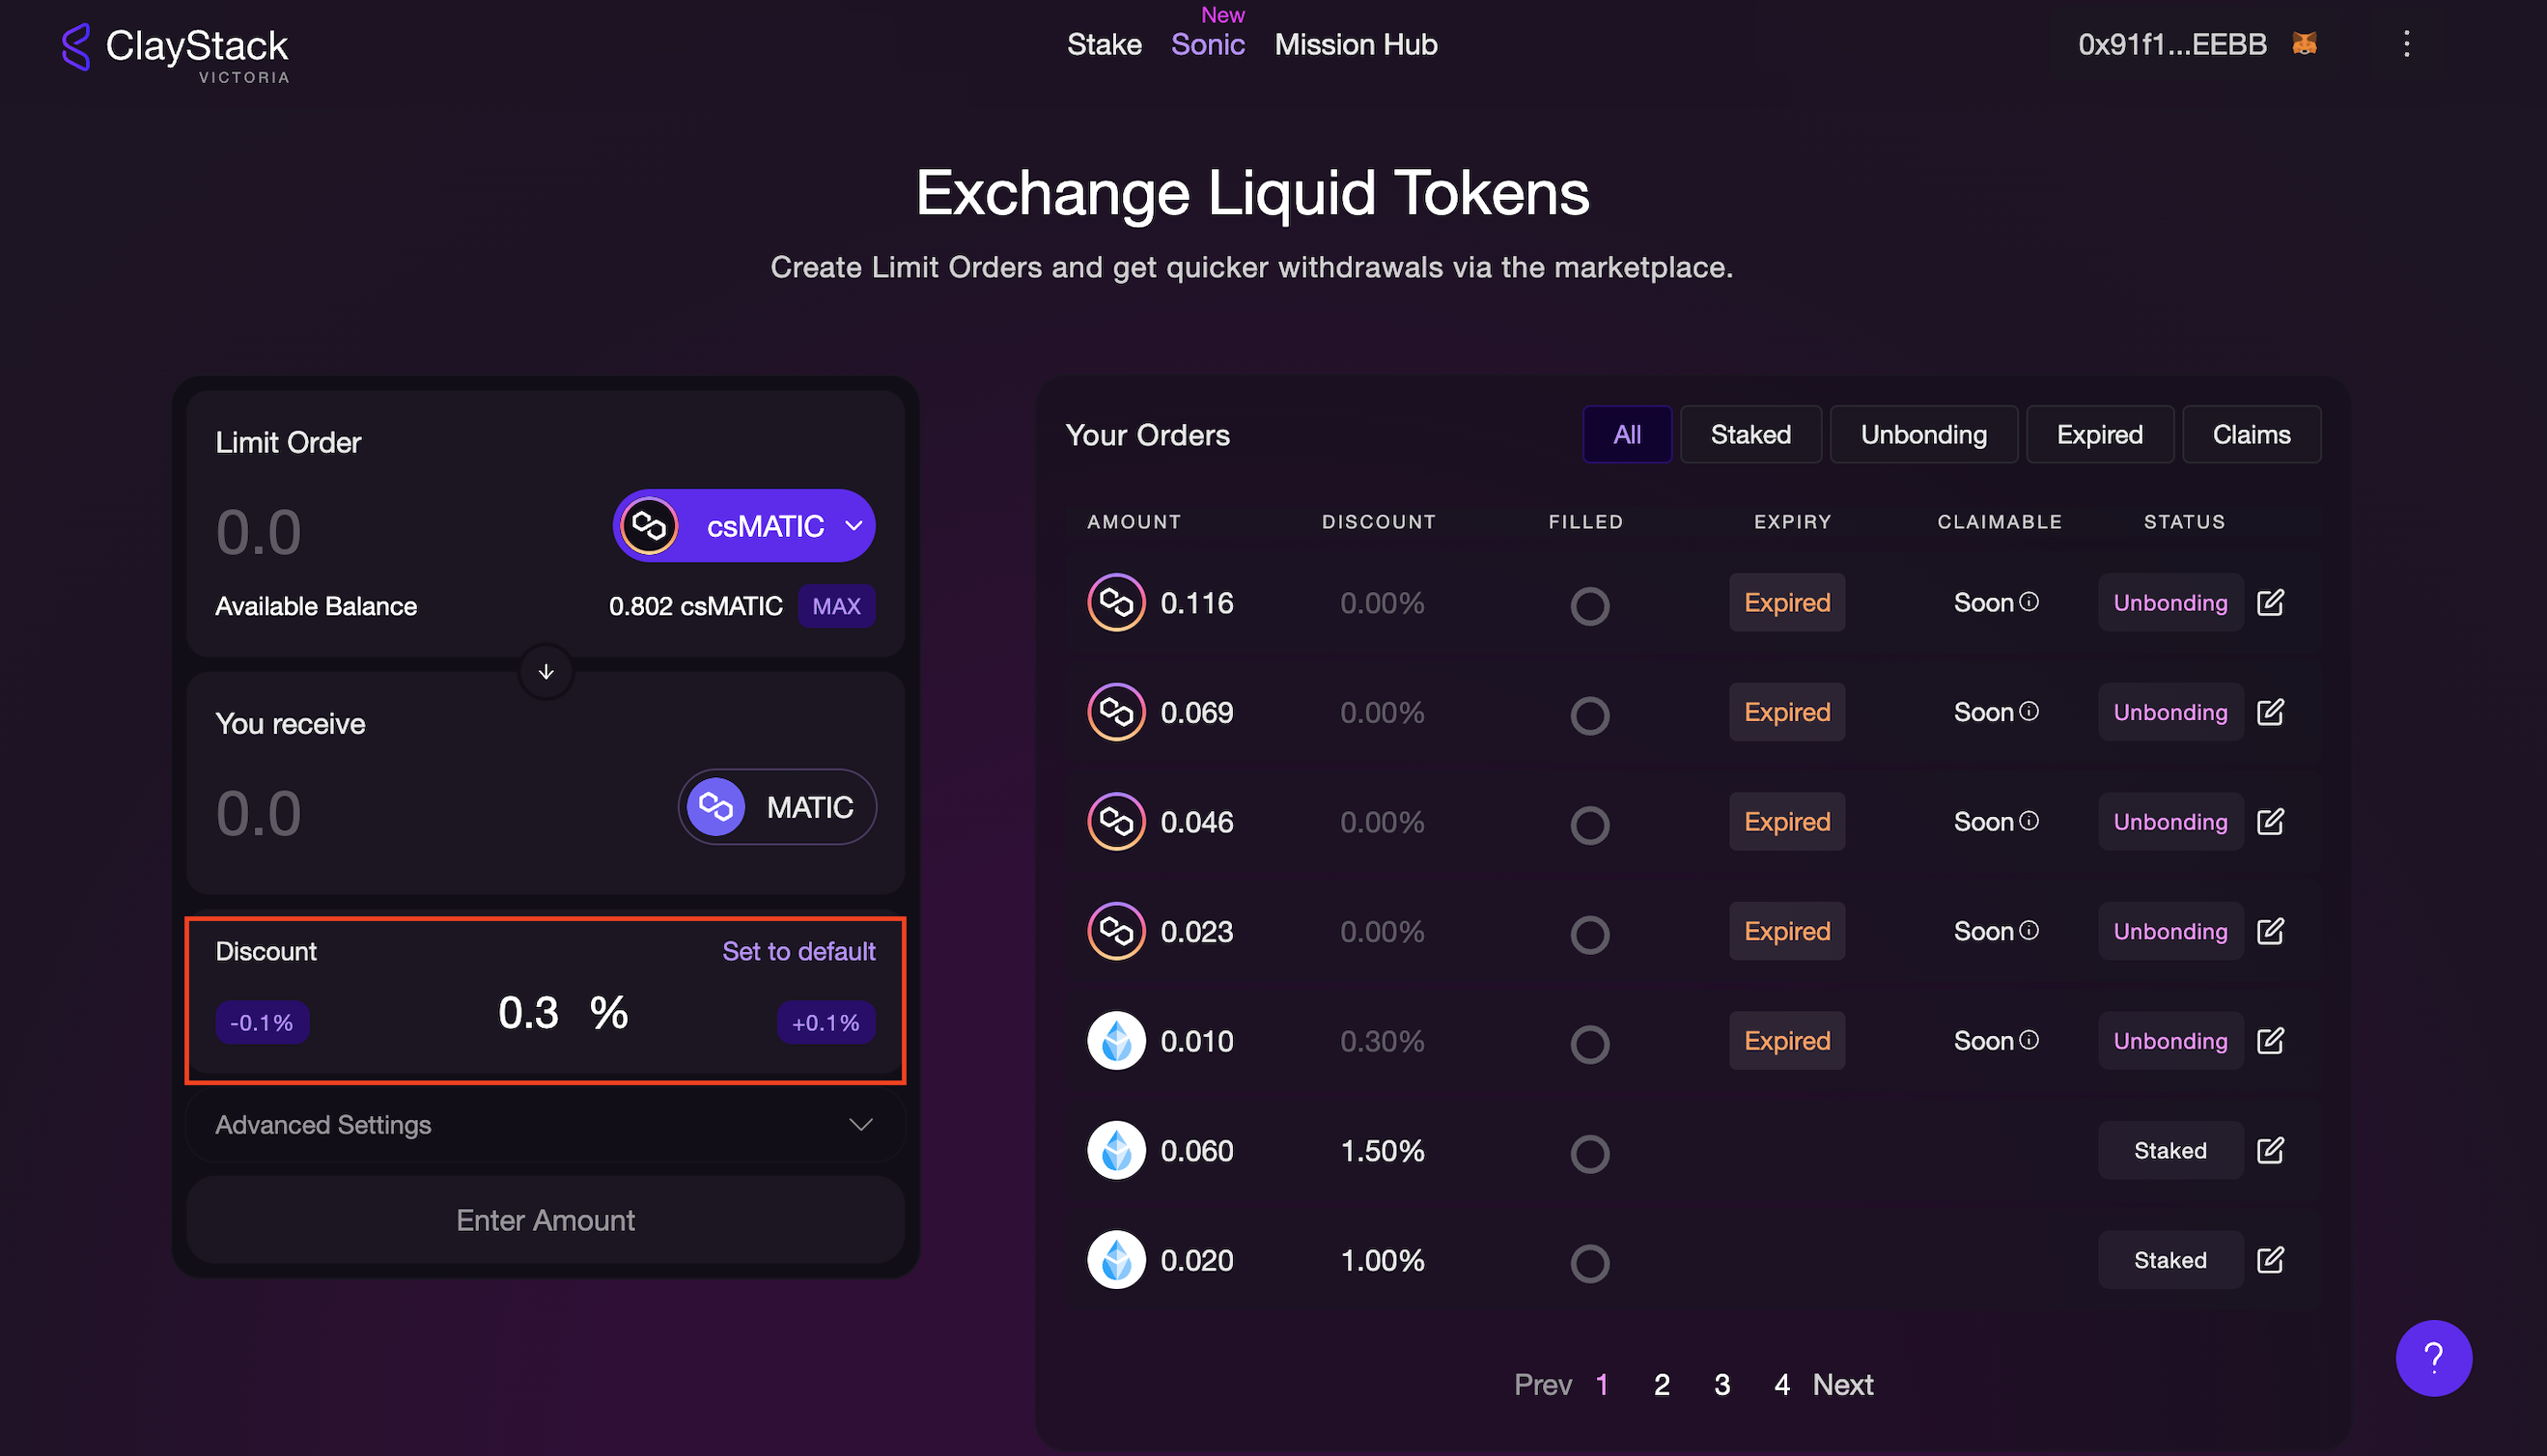
NOTE: Increasing the discount rate enhances the likelihood of swift order fulfillment. Remember, however, that , a higher discount rate will result in a lower trade value.
Step 4: Customize other parameters. (Optional)
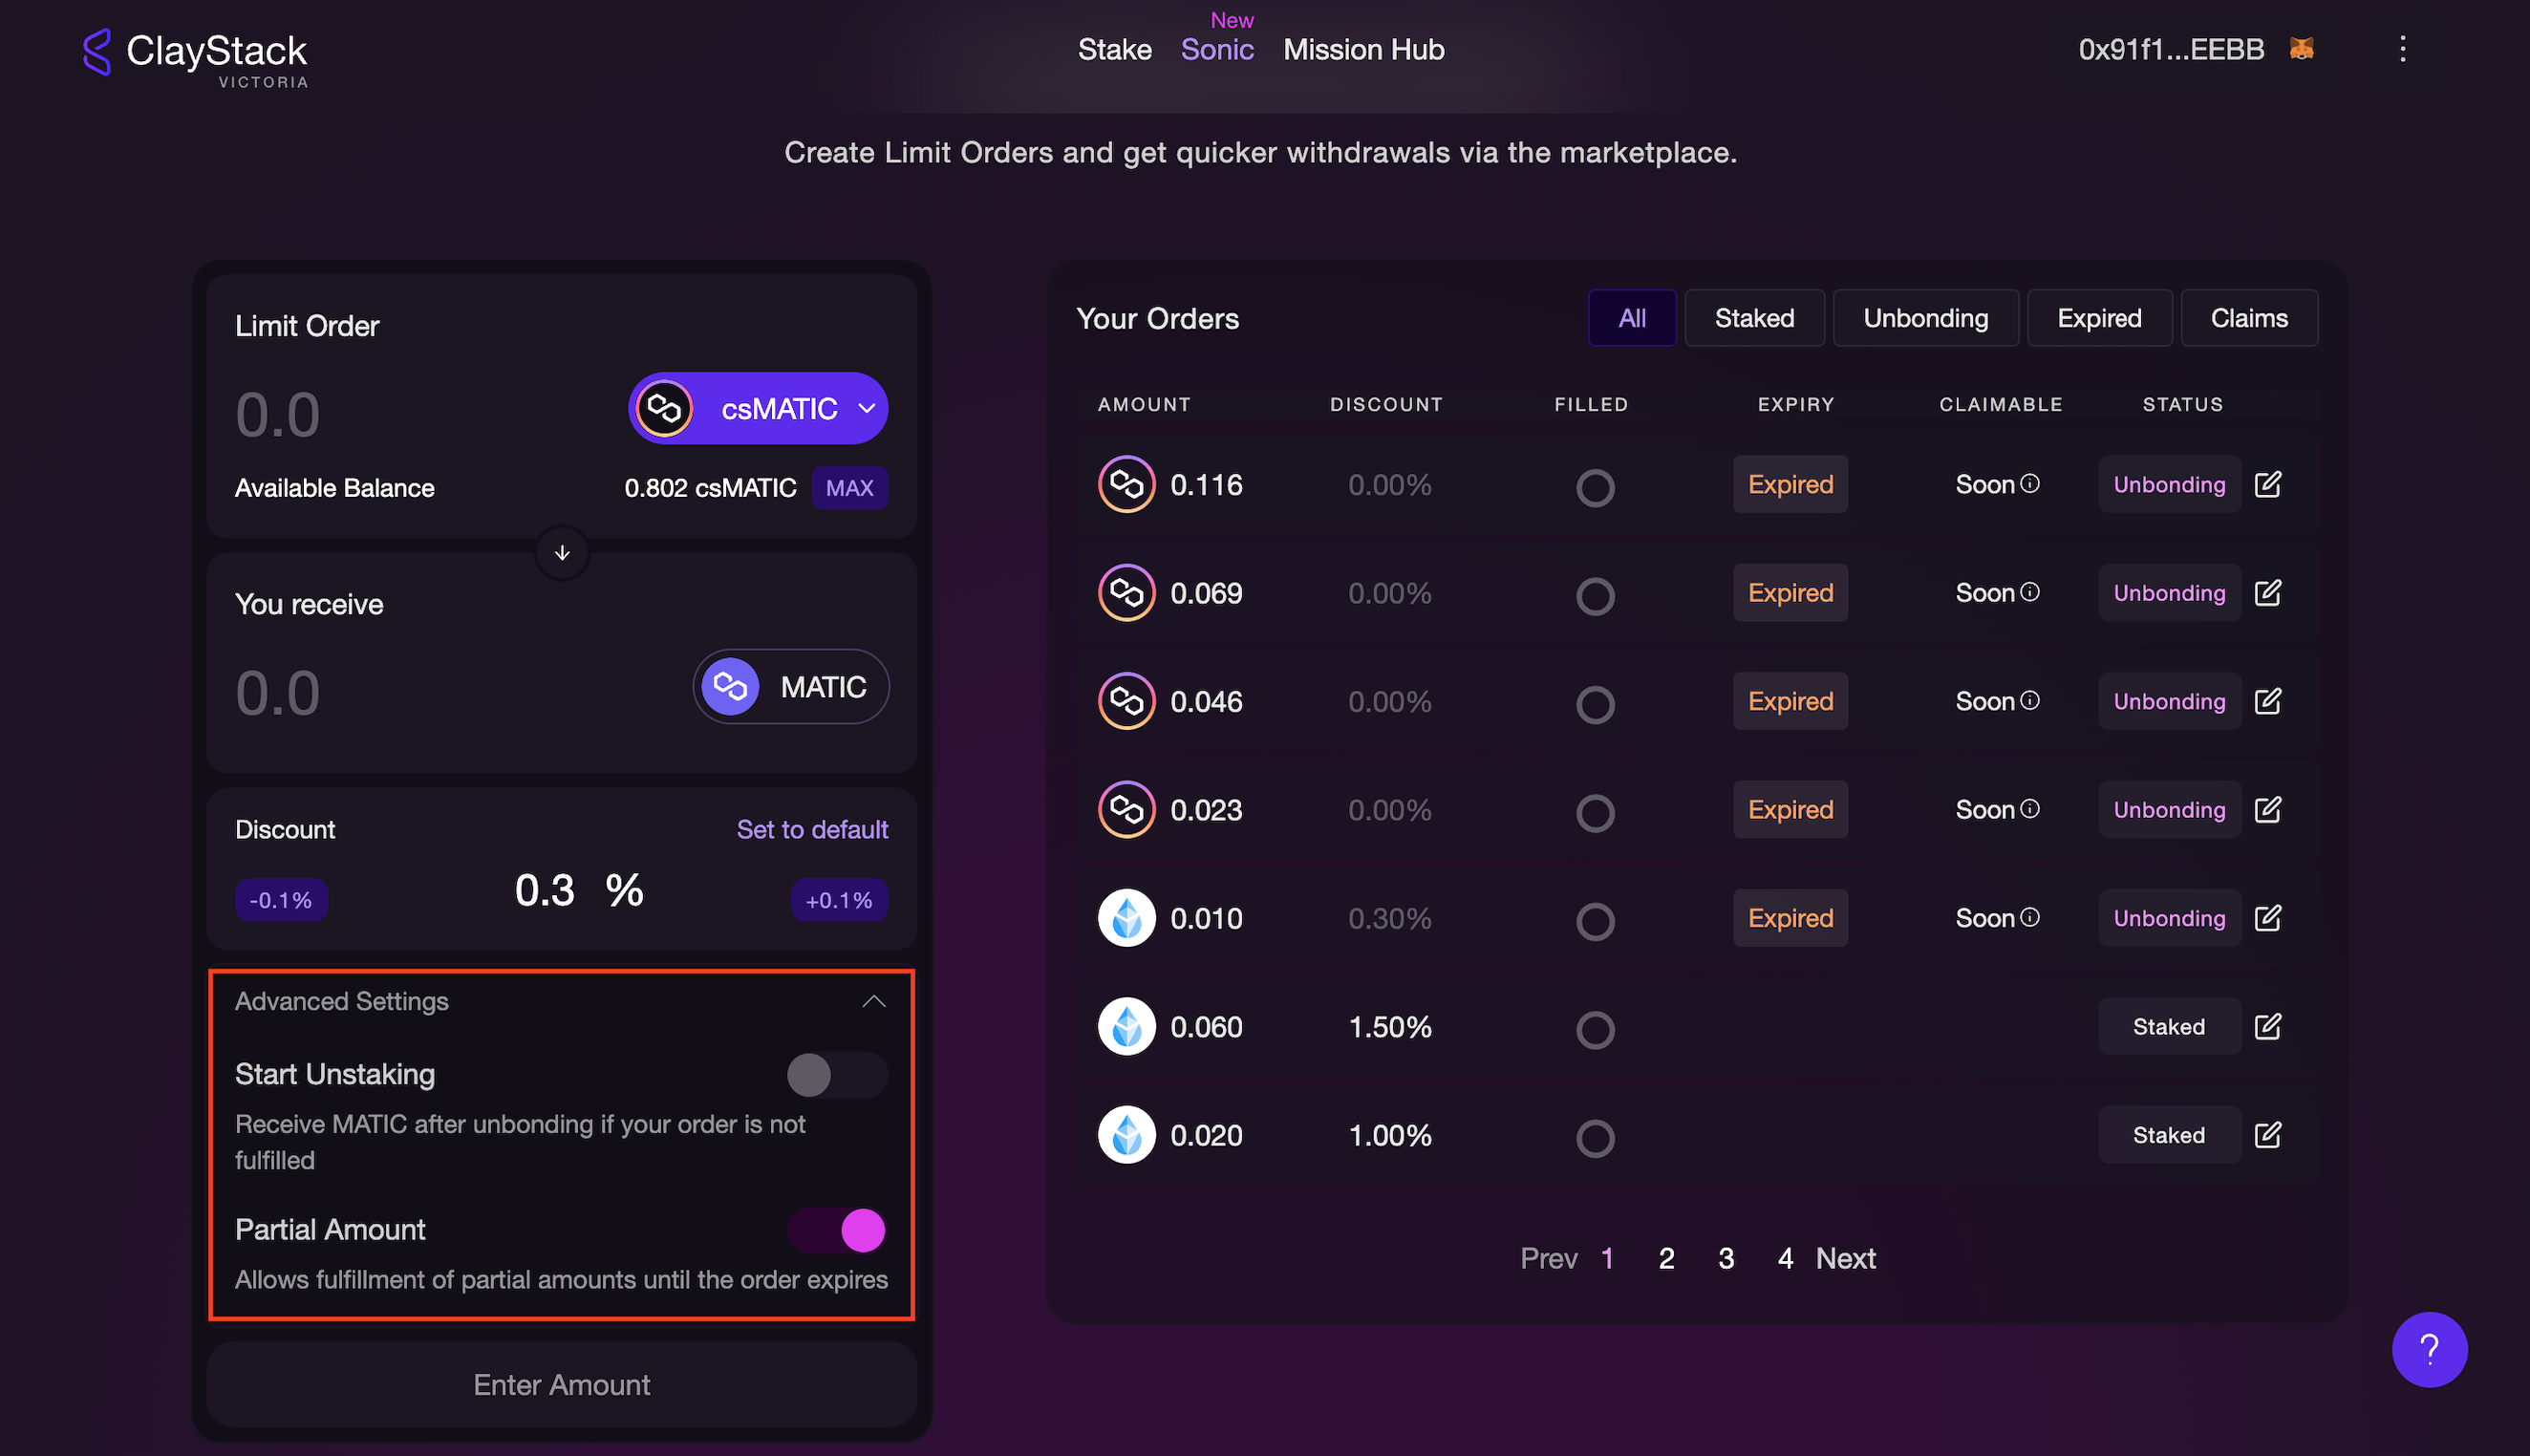
NOTE: If you want to update advanced parameters, click on the "Advanced Settings" option. The advanced settings include:
Start Unstaking: This option allows your tokens to be unstaked, and as a result, you will receive native tokens after unbonding if your order is not fulfilled. Upon enabling this, you will need to set an expiration time. This is the time at which your order expires. You can customize the expiration time of your order depending on how long you want the discount to stay valid. Customize the discount to avoid orders being fulfilled very close to unstaking - otherwise someone can come in at the last moment and enter your LSD position at a discount and get the unstaked amount quickly.
Partial Amount: Enabling this option allows for the fulfillment of your order by multiple users through partial amounts - until the order expires.
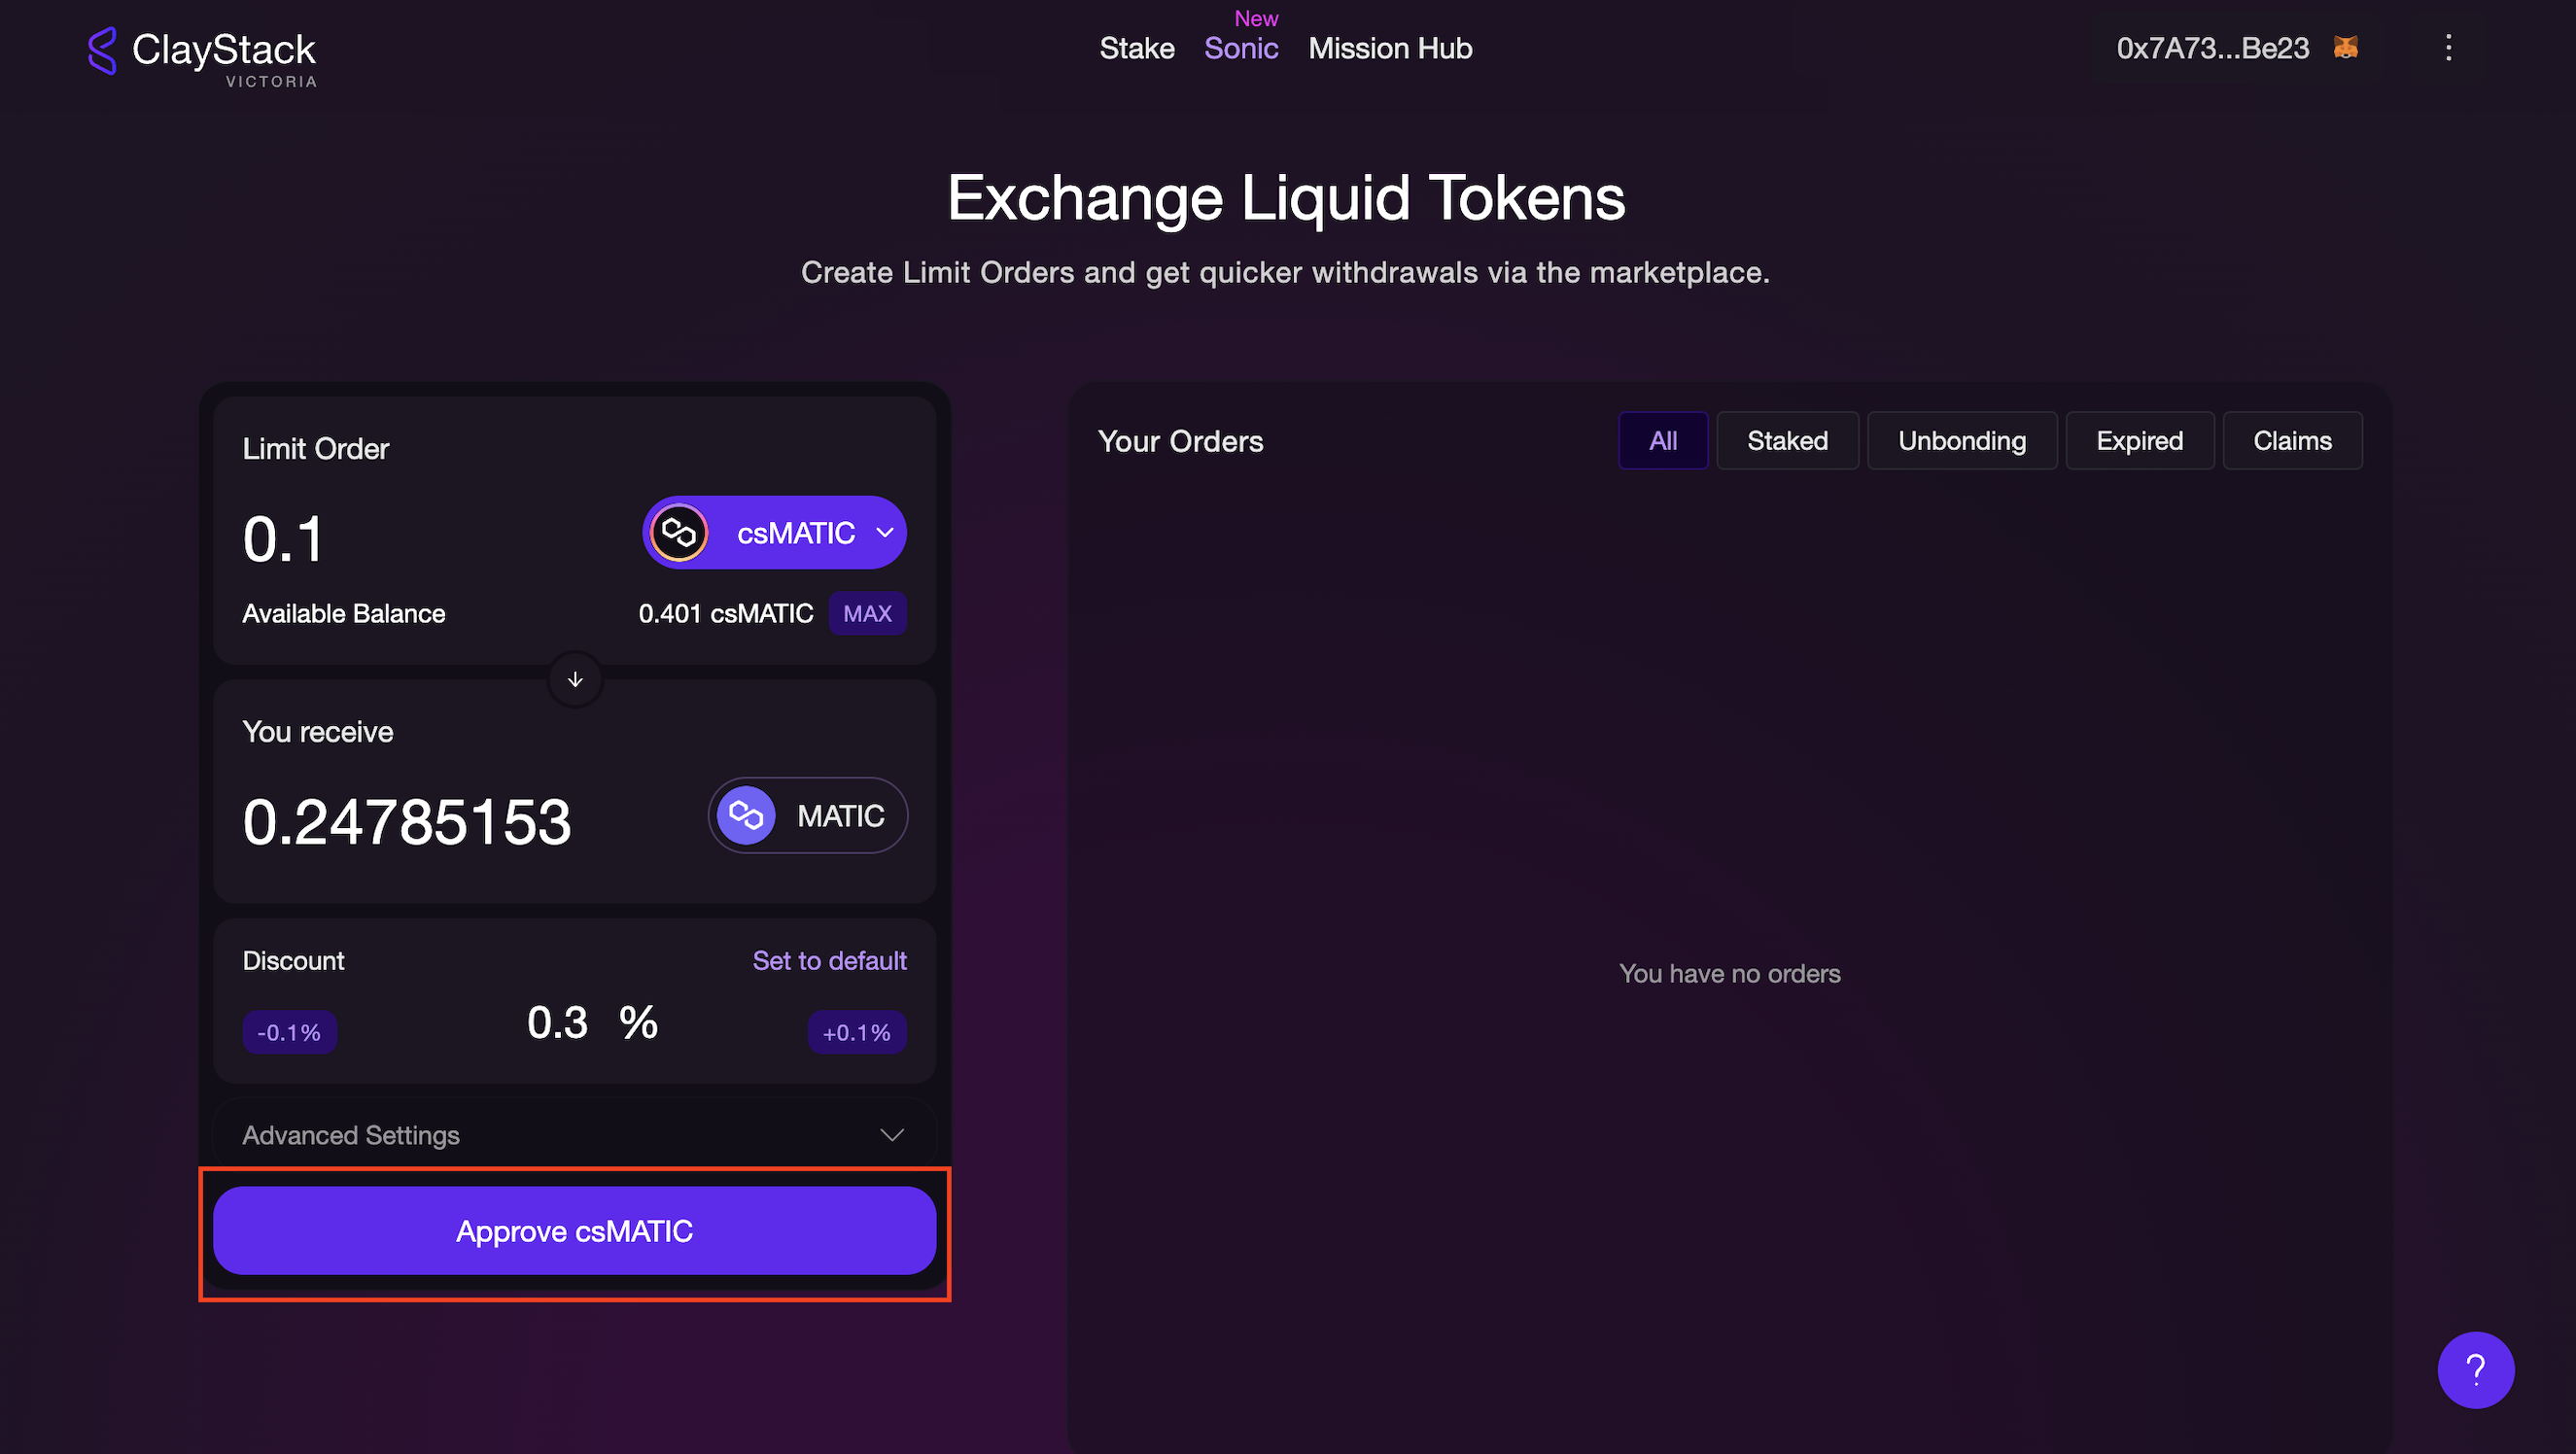
Step 5: Approve token.
If the token has not been approved already, click on the "Approve Token" button.
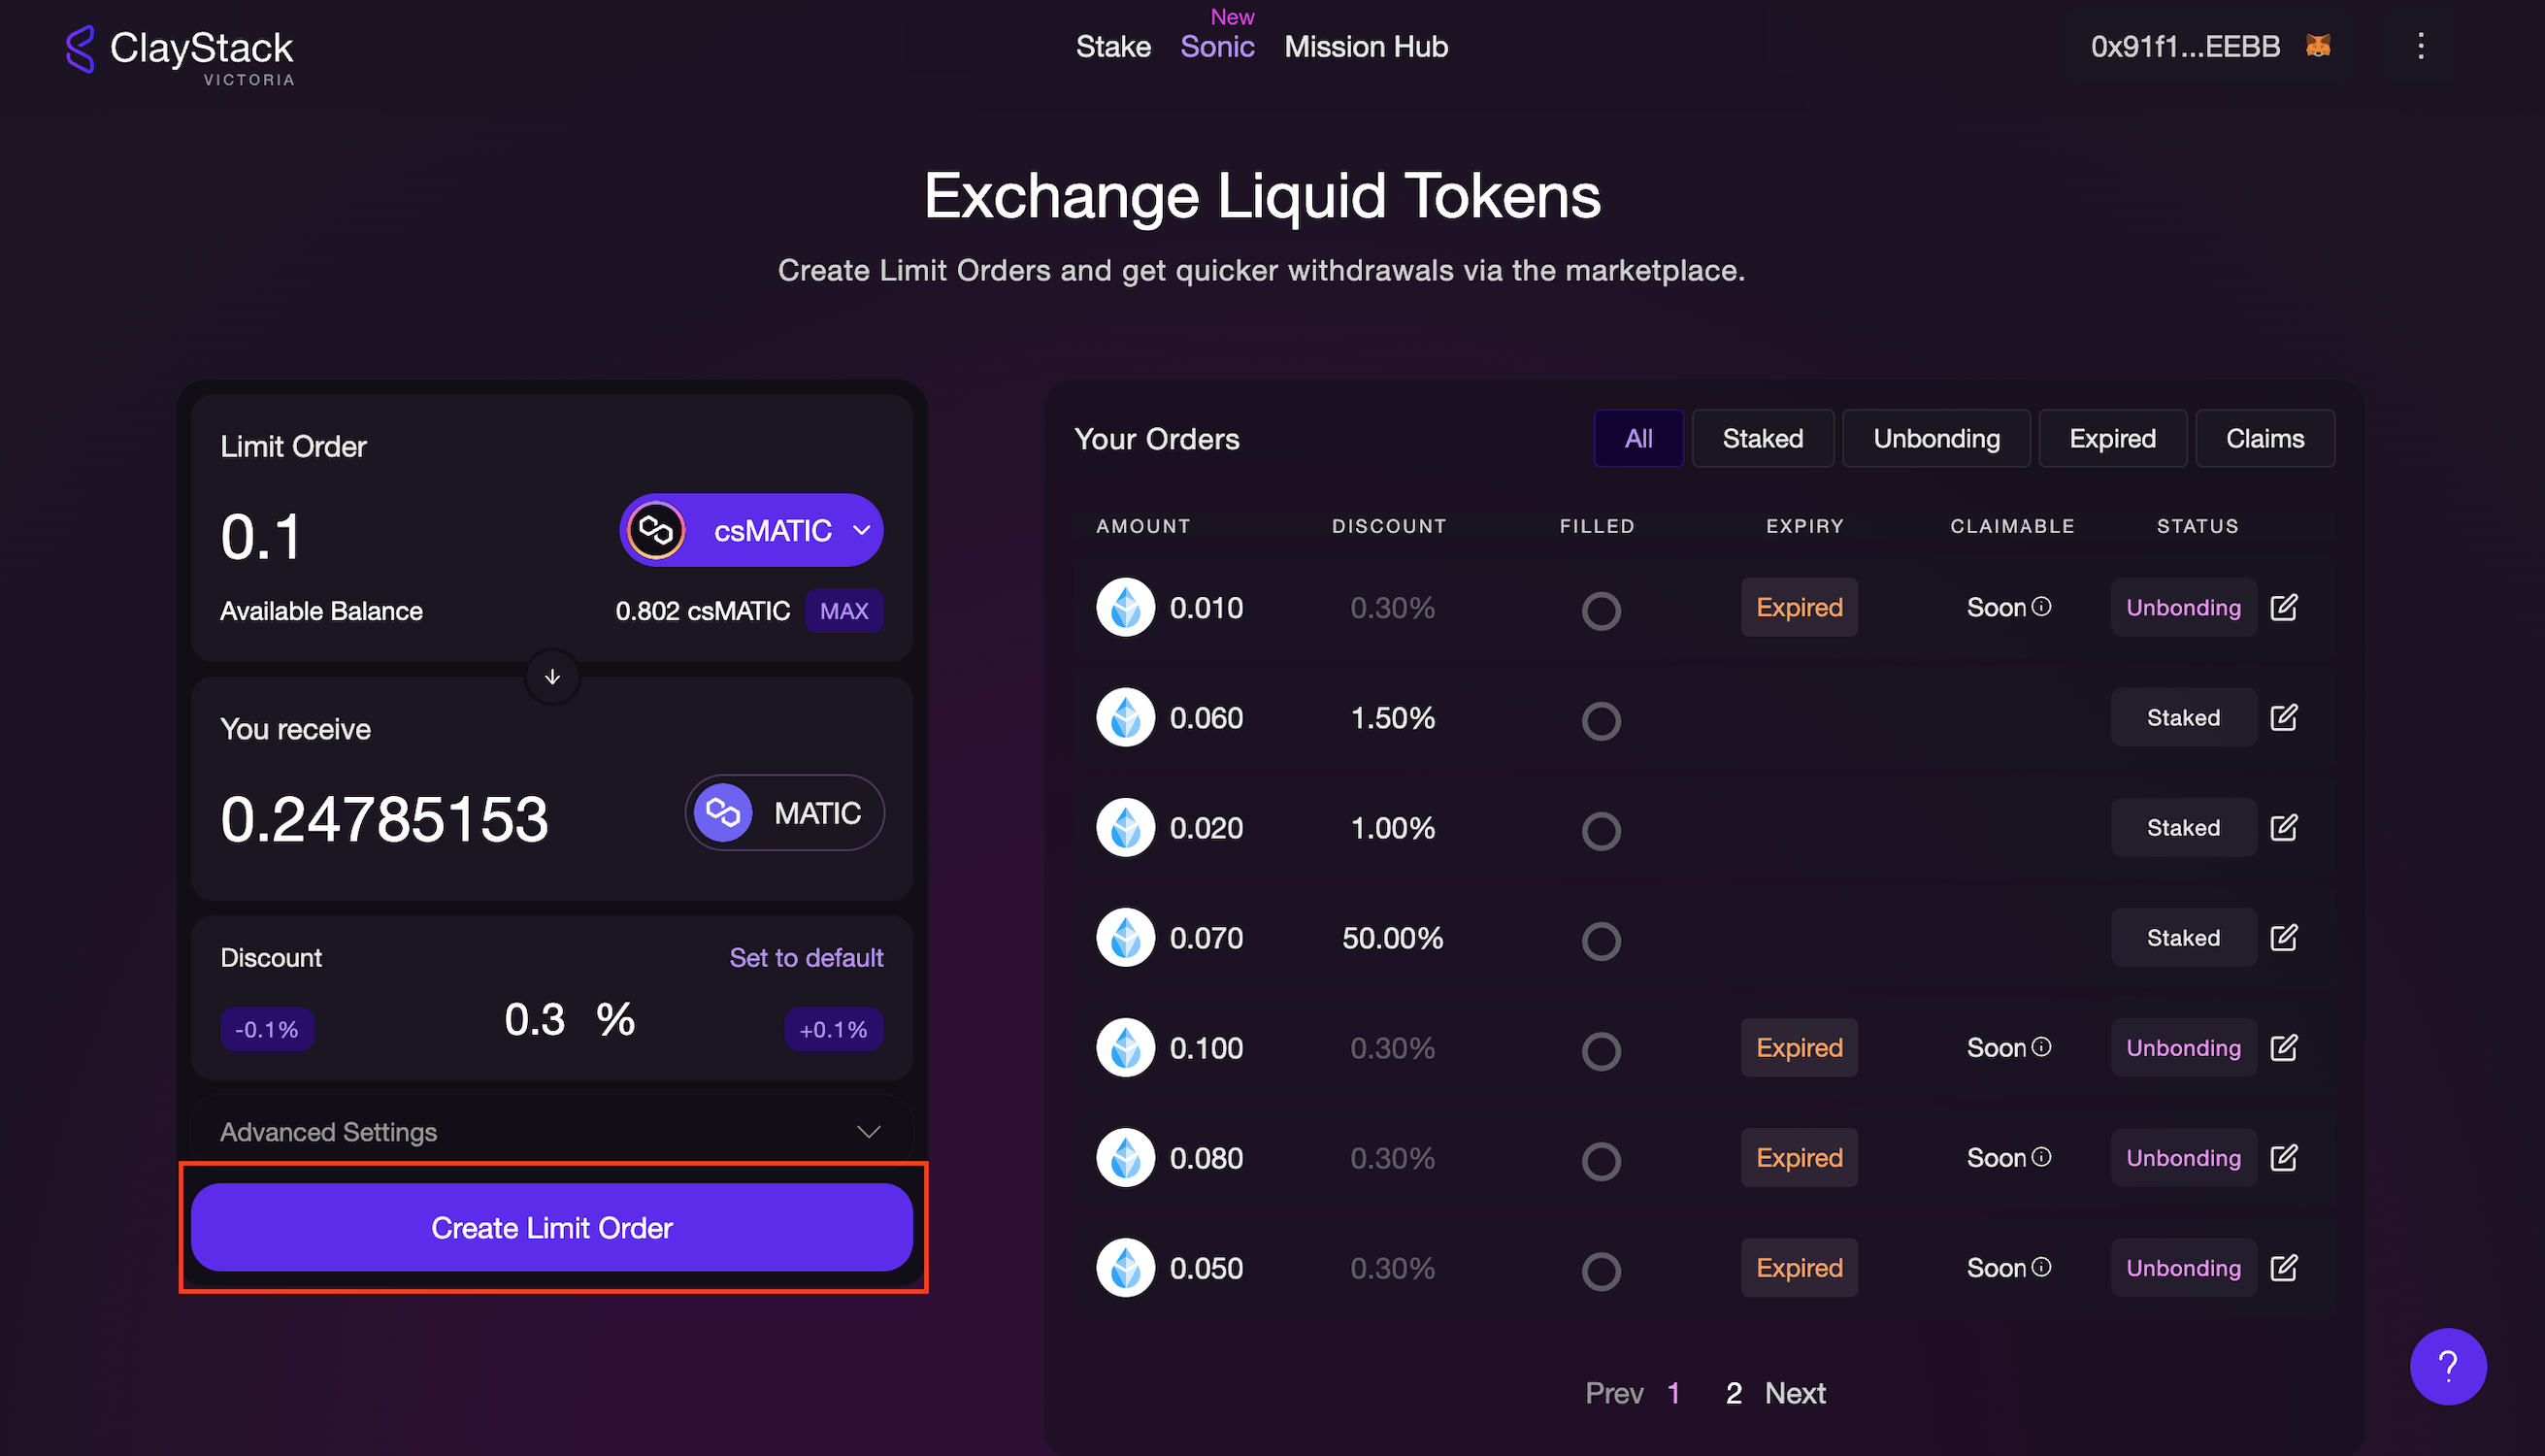
Step 6: Review and create limit order.
Review the details of your order.
Click on the "Create Limit Order" button to proceed.
Step 7: View Your Orders
After the transaction is successfully completed, you can view all of your orders in the "Your Orders" section.
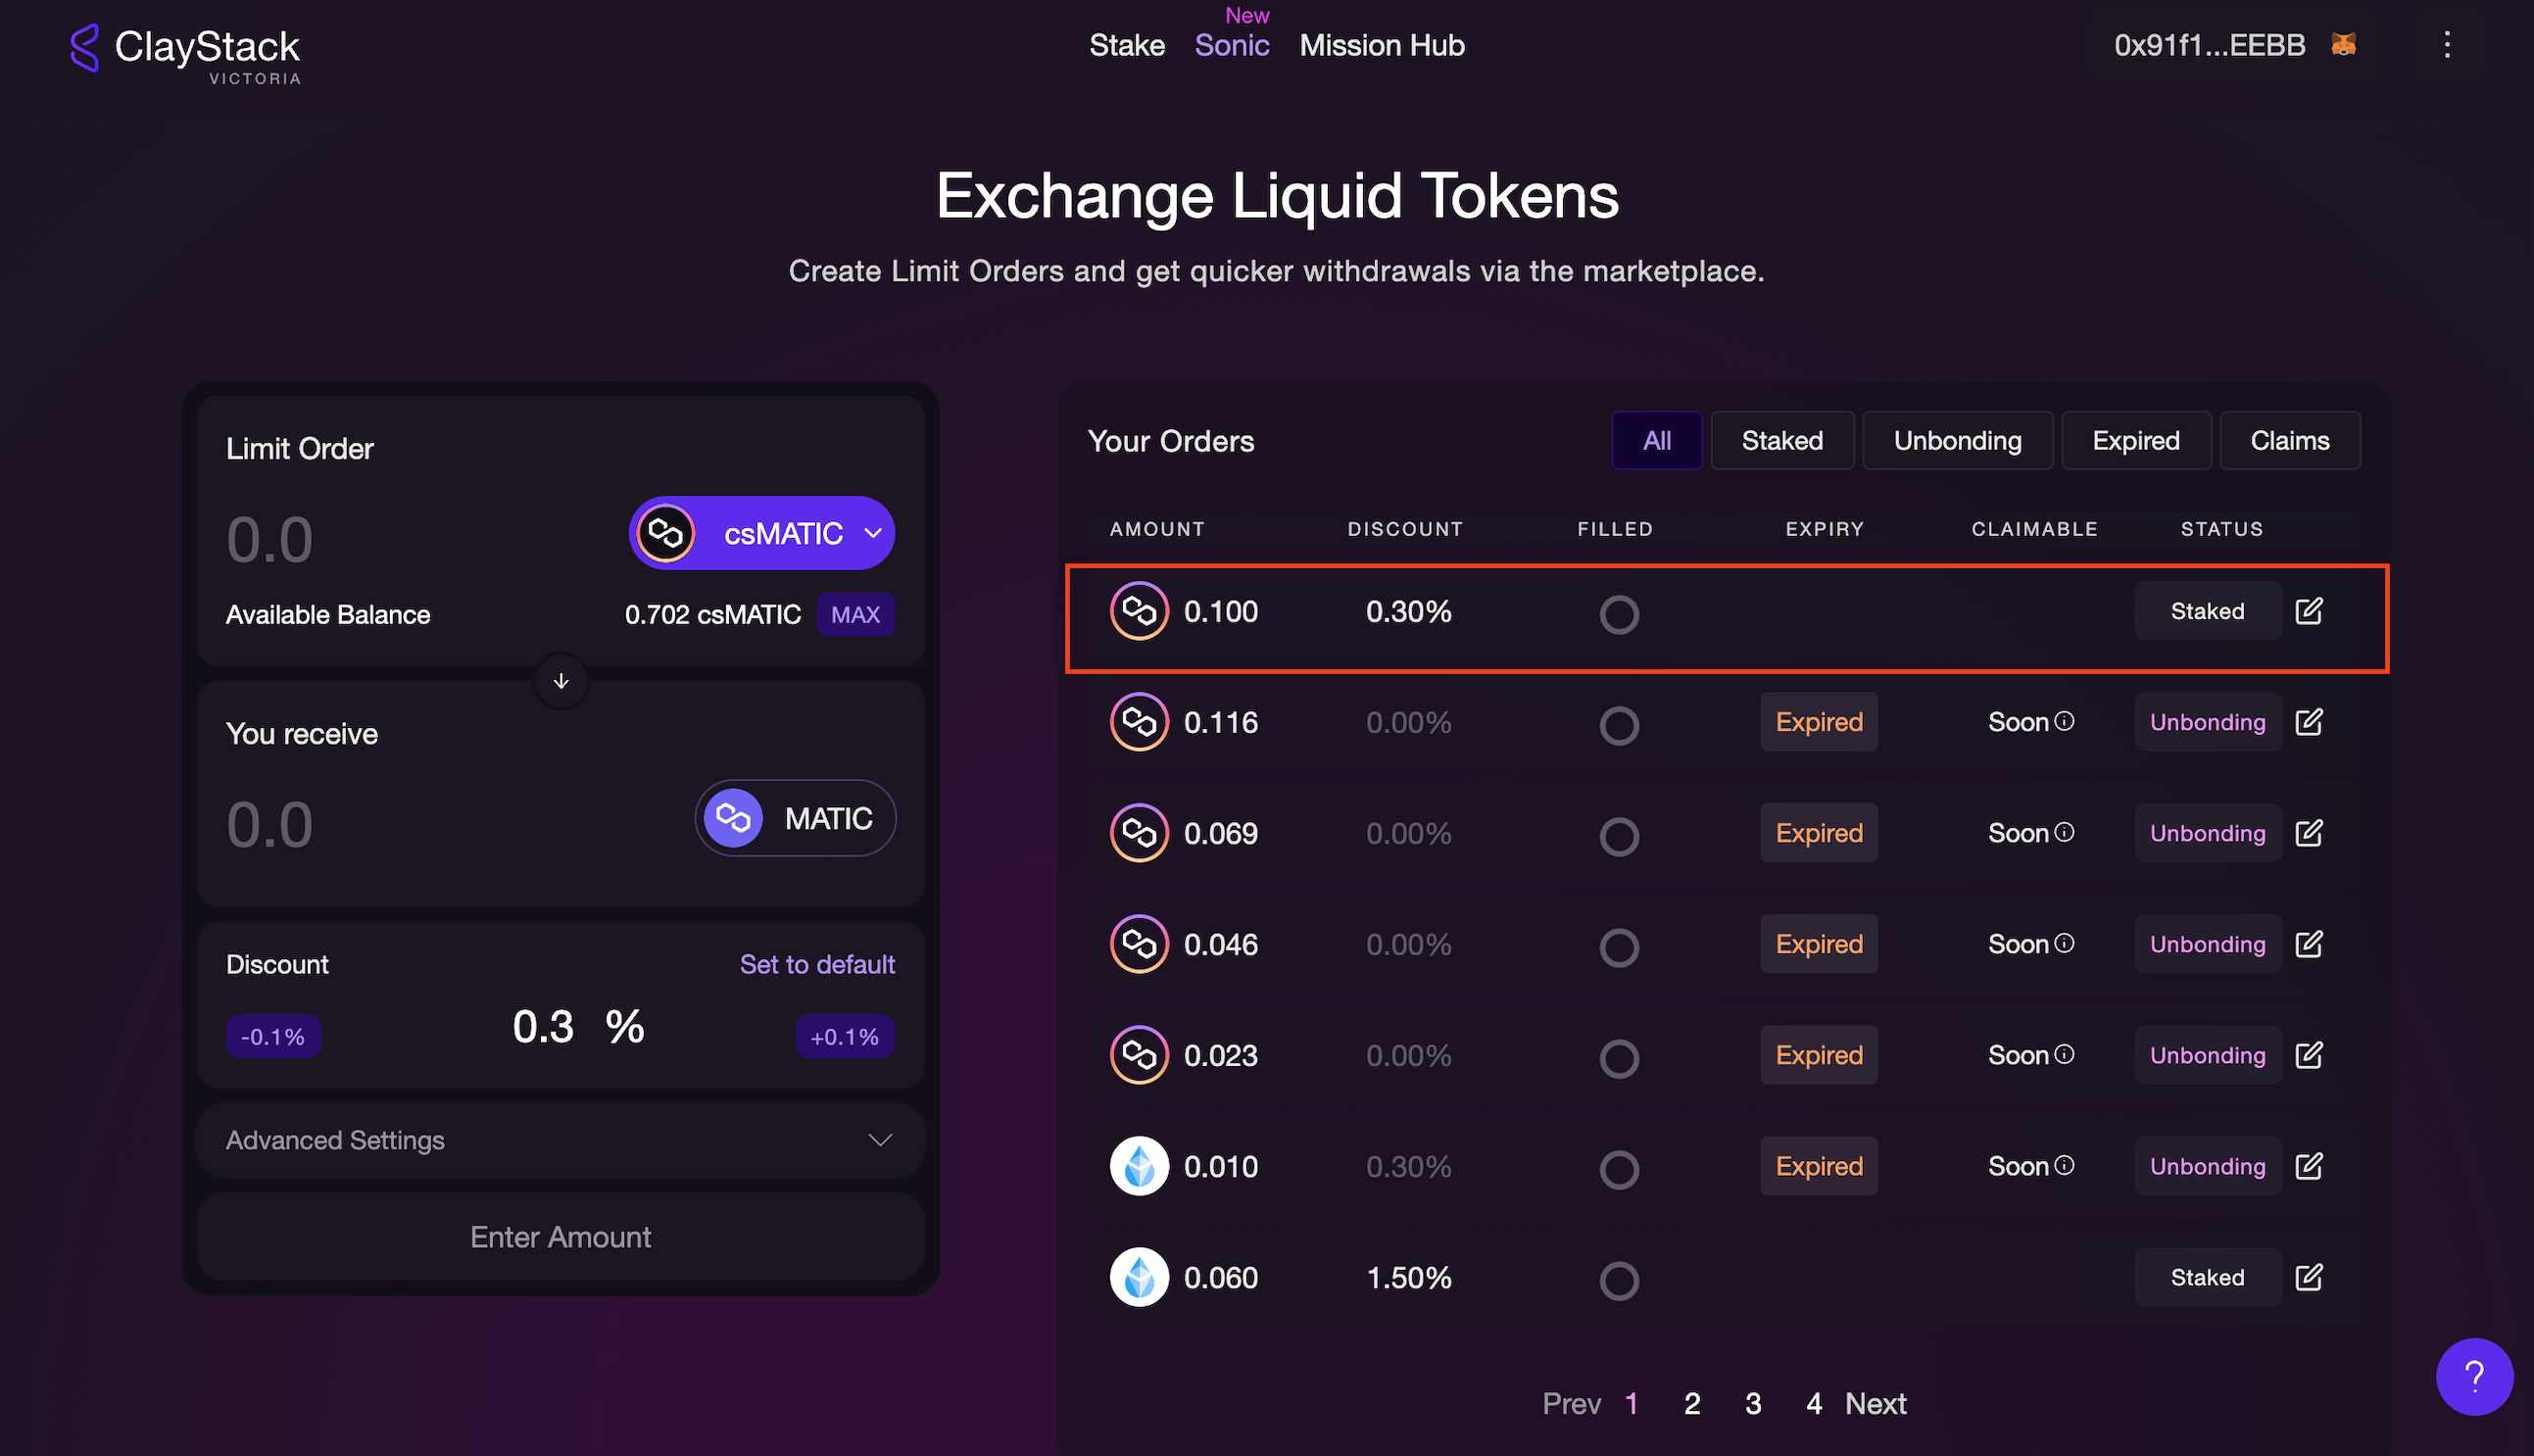
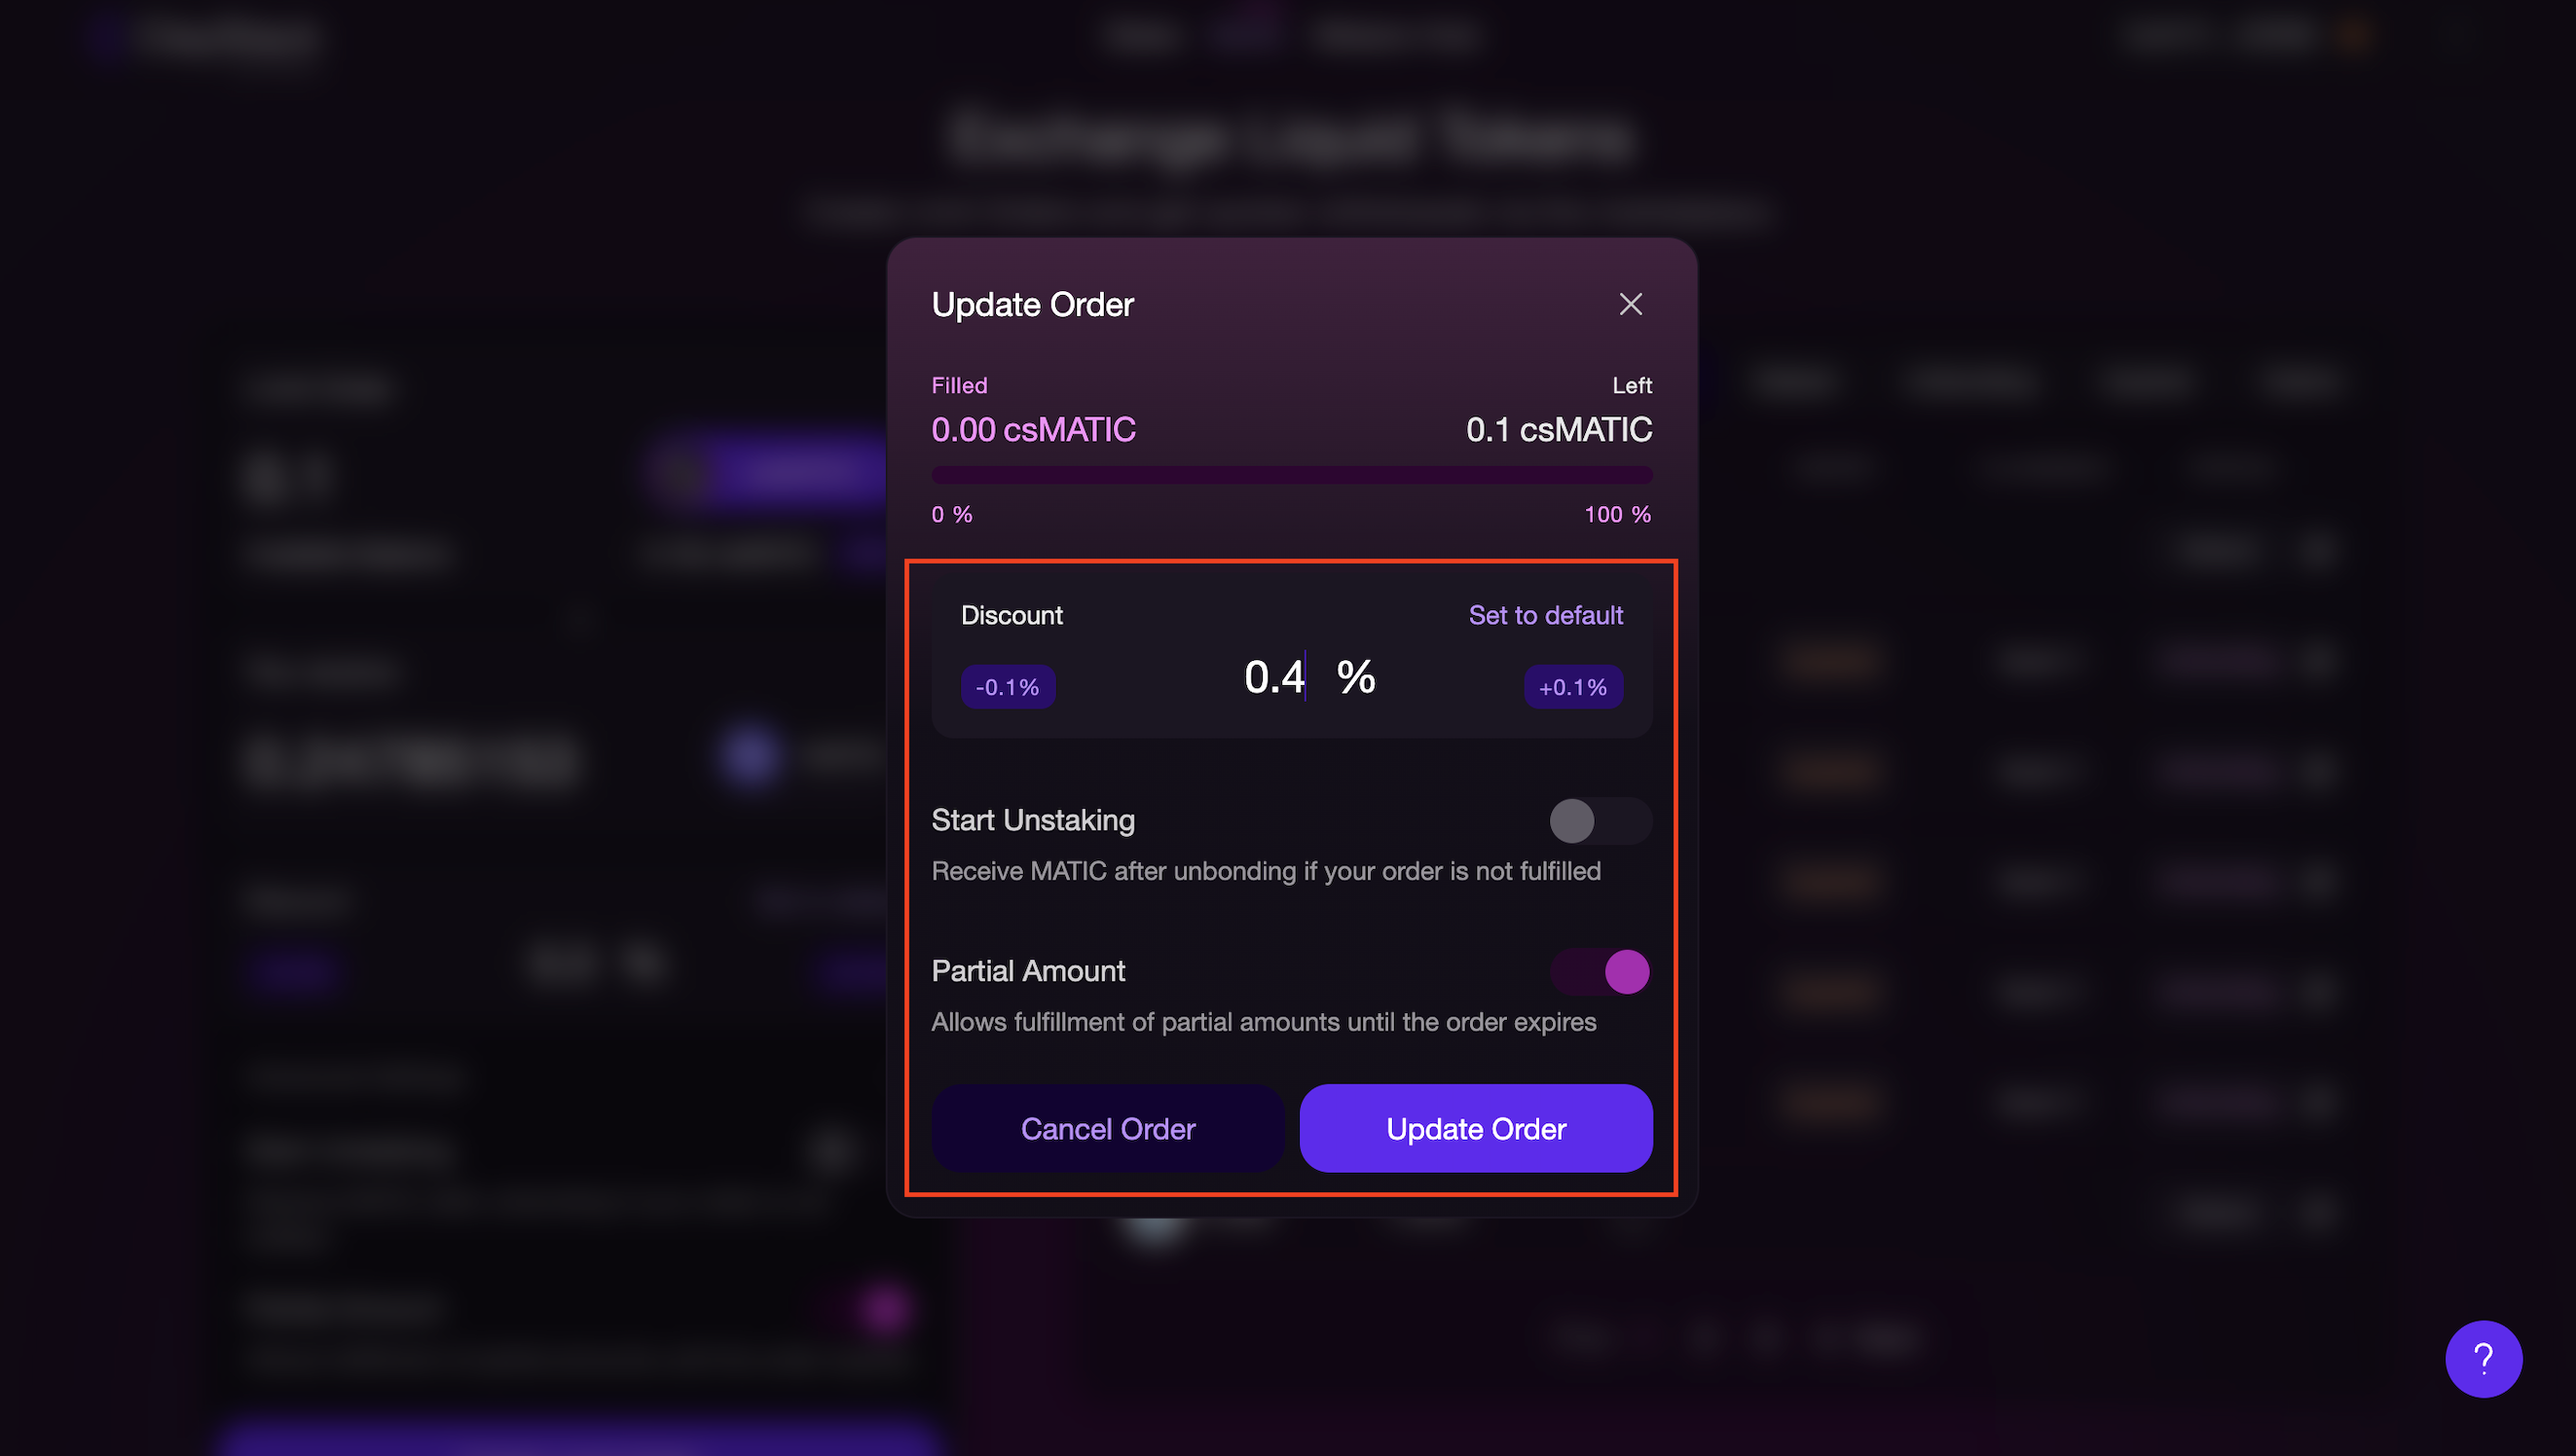
Step 8: Edit order.
Once you have submitted an order, you can update the following settings:
Discount rate
Start unstaking (Note that once this option is enabled, it cannot be disabled)
The expiration time if "Start Unstaking"" was enabled
Enable Partial amount (Note that once this option is enabled, it cannot be disabled) After you have made the changes, click on the "Update Order" button to proceed. Once the transaction is successfully completed, your order will be updated. You can also cancel the order if it has not been fulfilled yet by any other user by clicking on the “Cancel Order” button. You will receive your tokens back. Note that you can only cancel orders if you didn’t start the unstaking process. Otherwise, you can claim instead.
